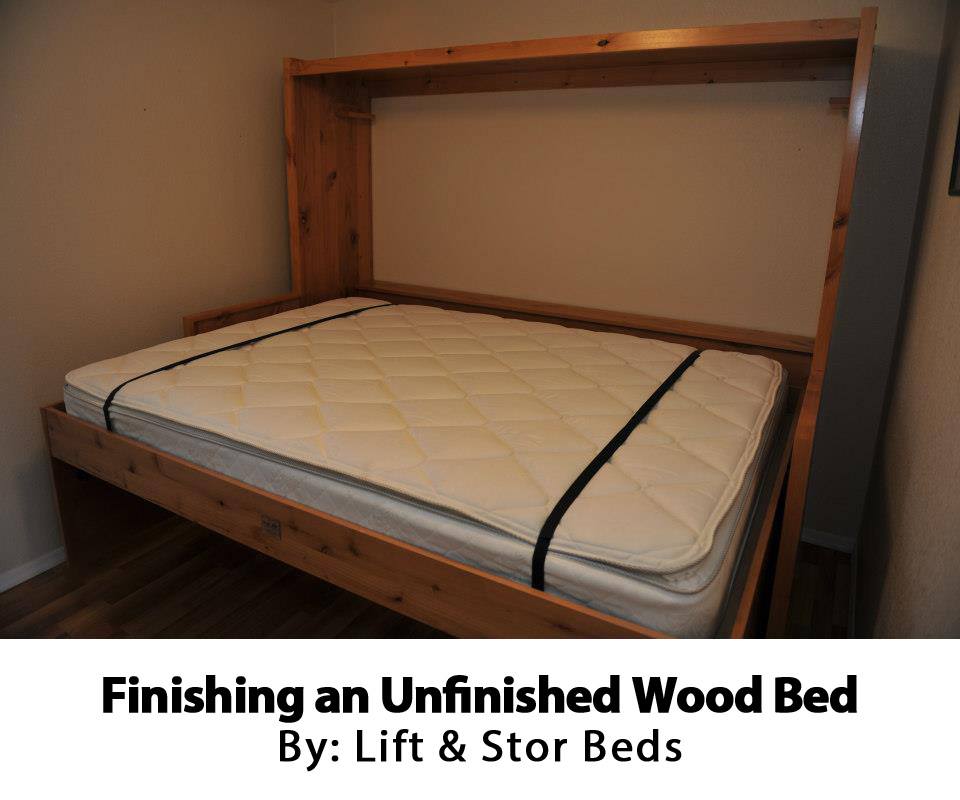
Finishing an Unfinished Wood Bed
When you finish your own wood bed, you add your own personal touches while saving money. Beyond saving money when you purchase furniture that is unfinished, it makes a great project to complete over the course of a weekend. You don’t need any special skills or knowledge to finish a wood bed, but you will need a bit of hard work to get the job done right. If you have some free time on your hands, you can create the perfect finished wood bed in no time.
Step-by-Step Instructions for Completing the Project
- Take any hardware on your furniture and remove it. Make sure everything is placed into a bag for later application. The last thing you want is to lose an item that may hold your bed together. Labeling and storage of essential components is vital to the completion of your project.
- Ensure your bed is sanded properly. Don’t forget about the underside and corners. It is imperative that you go through everything and make sure nothing is missed during the sanding process.
- In order to remove all of the sawdust from your furniture, wipe it down with a damp cloth. Make sure to get into all of the nooks and crannies for proper removal of debris. Allow the bed to properly dry before proceeding to the next step.
- Make sure you have the appropriate brushes for applying the stain to your bed. Depending on the type of stain you plan to use, the required brush sizes will vary. Apply your choice of stain evenly. Rub it into the surface of wood with a rag to help even it out if necessary. Give the stain at least 24 hours to dry completely. If you desire, go through and apply a secondary coat to your piece of furniture.
- After you have applied your stain, use a polyurethane finish to coat the piece with a natural bristle brush. Make sure to let the coating dry for at least four to six hours. Depending on the weather, it may take longer than six hours for the coating to thoroughly dry.
- Using a light grit sandpaper, sand the bed lightly. Wipe the piece using a clean, dry rag. Repeat the last two steps until you have at least three layers of polyurethane on your bed. Allow a few days for your piece to dry before you attempt to use it.
When it comes to finishing your piece of furniture, you can have the project completed in no time. Simply follow the aforementioned steps, and before you know it, you will be enjoying your beautiful new bed. Creating a finish that lasts for years to come is easier than one might think. You are the one in control of the stain and finish, so take the time to create something you can truly enjoy for years to come.

Published By:
Lift & Stor Beds – Jennifer Abbey
9124 E. Main St., Suite 7
Mesa, AZ 85207-8735
Phone : 480-380-8018